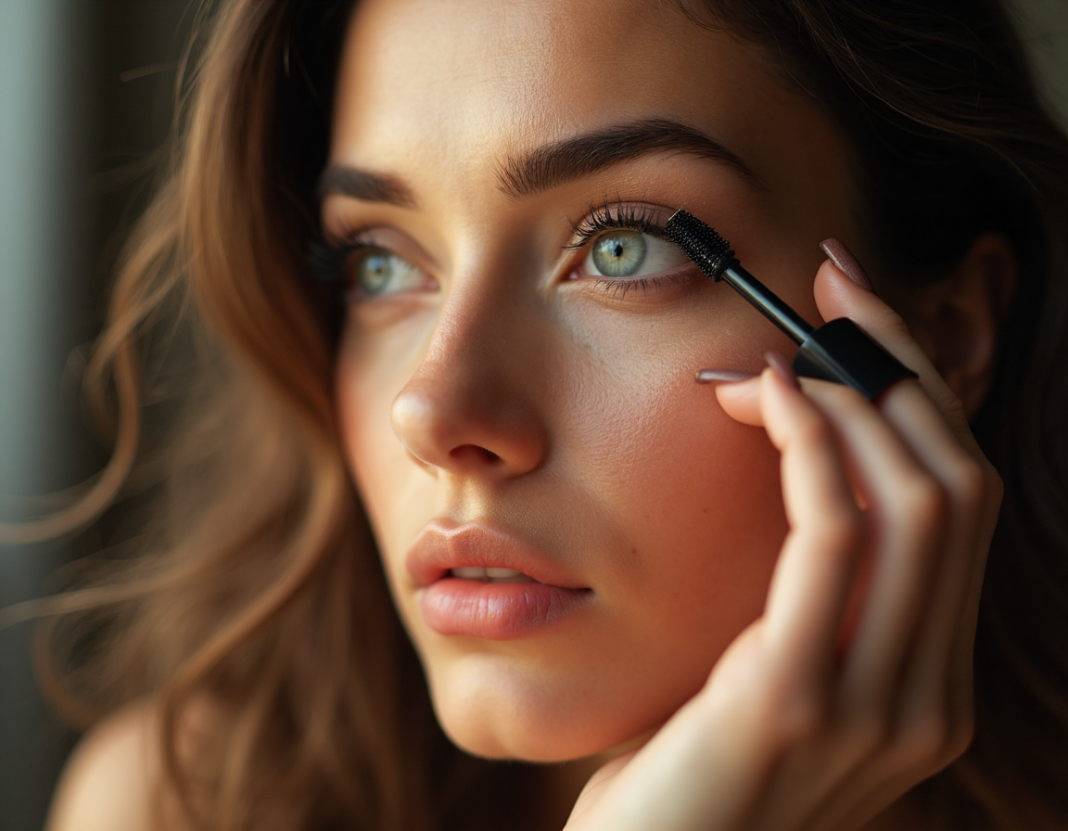
Hey beauty lovers,
If you’re anything like me, you know there’s something incredibly powerful about great lashes. They lift your eyes, frame your face, and add just the right amount of drama, even when the rest of your makeup is minimal.
But here’s the deal: mascara alone doesn’t always cut it anymore.
Sure, a classic swipe of black mascara will do in a pinch—but if you want those fluffy, fanned-out, “Are those real?” lashes, it’s time to upgrade your technique. And no, you don’t need to get extensions or falsies (unless you want to). The secret? Lash layering.
Over the years, I’ve experimented with everything—fiber mascaras, heated curlers, primers, the whole works. And in this post, I’m sharing my top 7 lash layering techniques that actually make a visible difference—whether you’re prepping for a glam night out or just enhancing your everyday vibe.
1. Prime Before You Climb (Length, That Is)
Let’s start with the unsung hero of every great lash look: lash primer. I swear by this step.
A good lash primer:
- Adds instant volume and length
- Preps your lashes for smooth mascara application
- Helps prevent clumping and flaking later in the day
Look for a white or clear formula that dries quickly. I apply one light coat, wiggle it from root to tip, and give it 30 seconds to set before going in with my main mascara.
Pro Tip: Try a primer with peptides or conditioning ingredients—it doubles as lash care while you wear it.
2. Mix and Match Mascaras for the Win
You don’t have to stick to just one mascara, and honestly, I rarely do.
I like to layer two (sometimes even three) different types:
- Volumizing mascara to bulk up the base
- Lengthening mascara to stretch out the tips
- Defining or tubing mascara for detail work and smudge-resistance
Use a thicker brush first to lay down product, then follow with a finer wand to separate and sculpt. Think of it like cocktail-ing your skincare, except it’s for your lashes.
My go-to duo: L’Oréal Voluminous (base) + Benefit’s Roller Lash (detail and lift).
3. The Backcombing Trick (Yes, for Lashes!)
This is one of those techniques I stumbled on backstage at a runway show, and it changed the lash game.
Here’s how to do it:
- After your first coat of mascara, close your eye slightly and run the wand over the top side of your upper lashes, brushing downward.
- Then open fully and brush up as usual.
This trick coats both sides of each lash, giving extra pigment and weight for a fuller, thicker fringe. It’s especially helpful if your lashes are lighter or finer at the ends.
Warning: Don’t overdo it or your lashes can droop—this is best done with lightweight formulas.
4. Curl Between Coats for a Lift That Lasts
Yes, you read that right. Curling isn’t just a pre-mascara step.
Gently curling between coats can help you reset your lift if it starts to droop as the layers build.
Here’s what I do:
- Apply your first coat
- Wait 30–60 seconds
- Gently use your lash curler (without pinching!)
- Then go in with the next layer
The result? Curled, sky-high lashes that don’t flatten halfway through brunch.
Hot tip: Use a heated lash curler if you’re brave—it holds shape better and helps fuse layers together.
5. Use the “Root Wiggle + Tip Flick” Motion
How you apply mascara matters just as much as what mascara you use.
Here’s my favorite method:
- Place the wand right at the base of your lashes
- Wiggle side to side (this builds volume)
- Then flick upward through the tips to elongate
Doing this in slow, controlled strokes gives better separation and coats lashes evenly without clumps.
It also keeps your lash line darker, which can fake the look of eyeliner if you’re skipping it.
6. Don’t Neglect the Lower Lashes
Lower lashes deserve love, too—but they need a lighter touch.
For a definition that doesn’t smudge:
- Use a slim, precise wand or a separate lower lash mascara
- Hold the brush vertically and tap gently along the lash line
- Focus on the outer third of the lashes to open up the eyes
Bonus tip: Got mascara smudges? Use a clean spoolie to flick them off once they dry—no wipes or cotton buds needed.
7. Seal the Deal with a Lash Comb
A metal lash comb is one of those old-school tools that deserves a comeback.
After you finish your layers, gently comb through while the mascara is still slightly tacky. It helps:
- Remove clumps
- Separate stuck lashes
- Give that soft, feathery finish
You’ll be surprised how much more expensive and editorial your lashes look after this one simple step.
Final Thoughts: Layer Like a Pro (Without the Fuss)
You don’t need falsies or extensions to have lashes that turn heads. With the right layering techniques and a little patience, your natural lashes can look longer, fuller, and more defined than you ever thought possible.
So next time you reach for your favorite mascara, try adding a step or two, and see what magic happens. Trust me, once you start layering, you’ll never go back to “just one coat” again.
Stay bold, stay beautiful!


